DIY LED Array Animation Rig
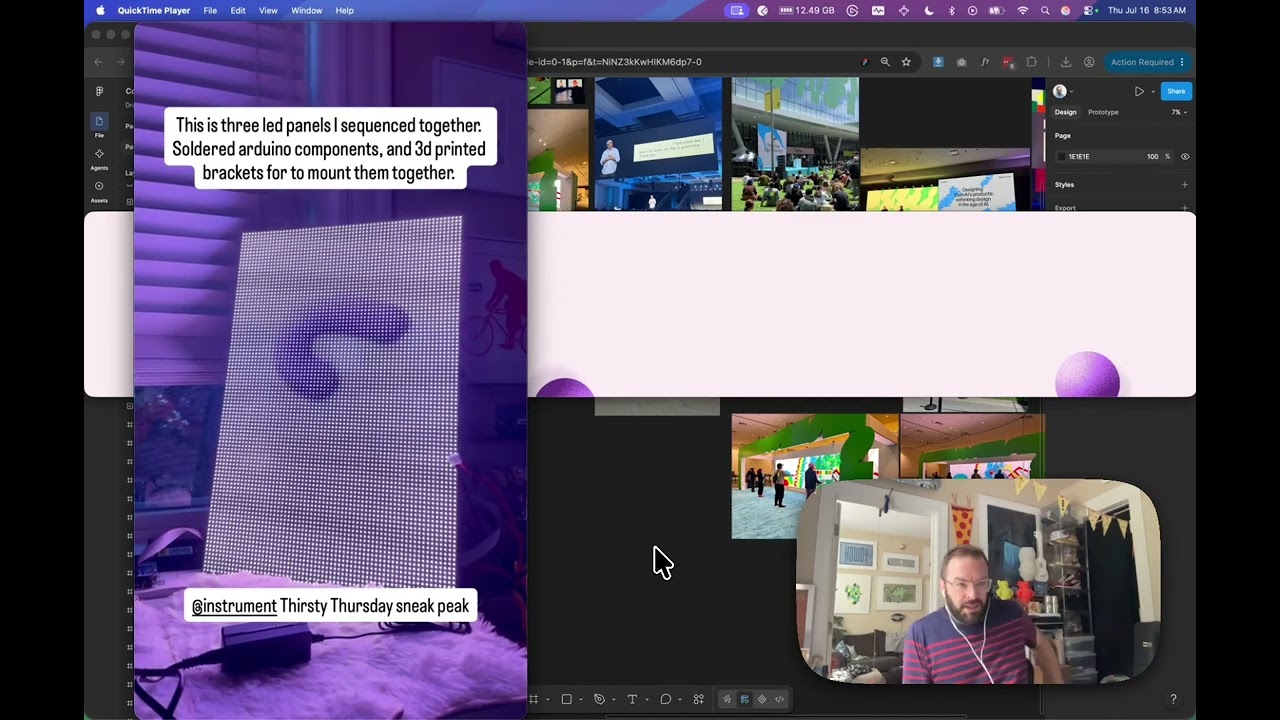
Three daisy-chained LED panels, a soldered Arduino, 3D-printed brackets, and a looping animation — built from scratch to explore LED arrays as a medium for live brand activations and in-person experiences. One melted power connector included at no extra charge.
LED arrays were everywhere at Config — massive, modular, surprisingly affordable compared to giant monitors — and I couldn’t stop thinking about what it would take to actually build one myself. So I did. Three 64×32 pixel panels wired in sequence, driven by a soldered Arduino with a data hat, mounted with 3D-printed brackets I designed by feeding measurements directly to Claude and dropping the output file straight into my slicer. The whole thing loops a custom animation — an endlessly morphing S, for Seth and for Instrument — in pixel-perfect sync across all three panels.
The pixel math
LED arrays aren’t like a normal monitor. An array is literally a list of pixels, and each pixel has to map one-to-one to a physical LED. With three 64×32 panels chained together, the total canvas is 192×32 pixels — and that’s the exact resolution the GIF needs to be. No scaling, no interpolation. I assembled the animation in After Effects as three side-by-side compositions, exported at exactly 192×32, and passed it to the Arduino. Keeping the file small matters here too — you’re pushing data wirelessly to a microcontroller, not a GPU.
The build
The hardware stack: three LED panels, an Arduino with a data output hat, power cables split via Y-connectors (two panels share one supply, the third gets its own), and data cables chaining the panels in sequence. The 3D-printed mounting brackets handle the physical alignment — screw holes and all — so the panels sit flush and rigid without needing a full steel rigging structure. I gave Claude the exact dimensions and hole placements and got back a printable file. Fast, practical, no CAD software required.
The lesson (re: electricity)
Here’s the Instagram versus reality moment: large LED panels draw serious amperage, and a standard power brick is not rated for it. I learned this the hard way when the connector between the brick and the panel melted. Everyone is fine. The panels are fine. But it’s a real consideration — this kind of installation needs a proper power supply sized to the draw, not whatever’s in the junk drawer.
Why it matters
LED arrays open up a category of in-person, physical experience that’s hard to replicate with screens or projectors. They’re modular, bright, relatively cheap at scale, and inherently tactile — you can see the pixels. The applications are genuinely exciting: brand activations with live generative content, interactive retail where the display responds in real time, event environments where the architecture itself becomes the canvas. This experiment was small — three panels and a looping S — but the pipeline scales. Once you understand the pixel mapping and the data chain, you can drive hundreds of panels the same way.
- Role
- Creative Technologist
- Tools
- Arduino After Effects Claude API FastLED 3D Printing